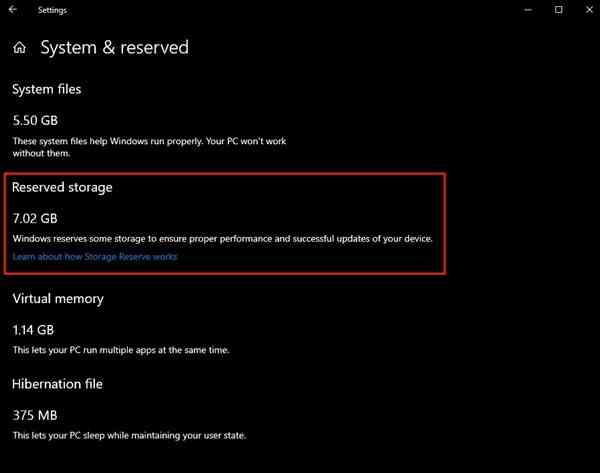
In the latest version of Win10 19H1 (Build 18298), Microsoft has enabled “reserved 7GB of space storage” for Windows system updates by default. For some users who use a single SSD computer, the capacity of the hard disk itself is not large, and Microsoft takes up another 7GB, which is easy to cause insufficient storage of the hard disk. So, how to cancel the 7GB space reserved for Win10? The following is a small version of the Win10 19H1 disable 7GB space occupancy method, get up!

Windows 10
Win10 19H1 disables 7GB space occupation method present, if you want to cancel the 7GB hard disk space reserved by Microsoft, you can modify or modify the registry to remove or say that the shielding, the following is the specific steps.

1. First use the Windows + R combination shortcut to call out, run the dialogue box, then enter the regedit command, and click “OK” below to open the registry, as shown.

2. After opening the Win10 registry, navigate to:
HKEY_LOCAL_MACHINE\SOFTWARE\Microsoft\Windows\CurrentVersion\ReserveManager
Then look for the shipped With Reserves and double-click to change the key value from 1 to 0, then click “Confirm” below to save the settings, as shown.

3, finally restart the computer, and then enter the Win10 settings – system – storage to view, is not the 7GB hard drive space that was taken away back.
The above is to cancel the new version of Win10 takes up 7GB of hard disk space, I hope to help the friends.


